How to Tile Shower Niche Without Bullnose
**Articles may contain links that I earn compensation for if clicked and you make a purchase. As an Amazon Associate, I earn from qualifying purchases. These earnings do not actually impact the price of the product or service.
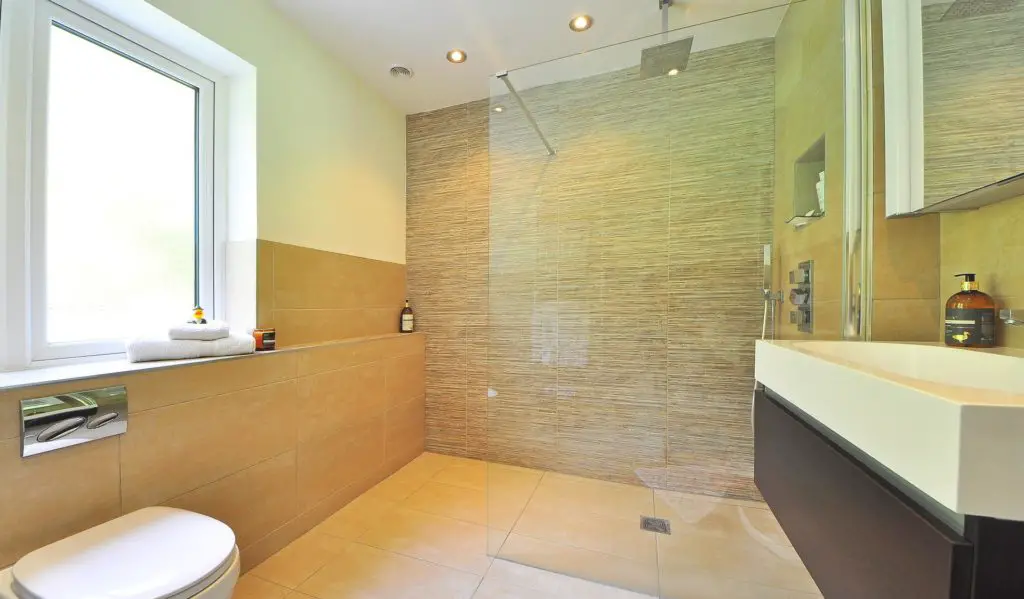
Bullnose tiles are ceramic tiles with rounded edges. They help make perfect corners, frames, or wall edges. At the same time, a shower niche in your bathroom is a small compartment that carries shampoo, body wash, and other small bottles.
However, while giving your shower niche an aesthetic look, you might want to overlook the bullnose tiles. It is possible to complete the desired aesthetic look of your shower wall without a bullnose. Most people consider bullnose tiles as an outdated style and don’t use them anymore in their shower niche.
Sometimes, you might not find bullnose tiles. In such case, you have no choice and may have to make the shower niche without a bullnose.
However, to make a perfect shower niche, you should know what suits your shower wall best and how to get the stuff done.
Therefore, this article will guide you on how to tile a shower niche without bullnose and different methods that are helpful to edge the shower niche perfectly.
 Tips to Tile Shower Niche Without a Bullnose
While making a shower niche, you have to consider many points, including the aesthetic and depth of the shower niche. Therefore, you have to decide whether you want the bullnose tiles on your shower wall or not.
Besides bullnose tile, you can find many other types of tiles that can help you perfectly edge your shower niche. Moreover, there are many other ways to avoid bullnose tiles.
1. Caulk the Edges
Some tiles have finished edges and do not come with a bullnose edge. These tiles may include glass, porcelain, and tumbled stone tiles. Bullnose tiles are usually used to avoid making finished edges.
However, you can make finished edges using caulk and any of your required tile shower niches. You can do this by following these steps:
- Install any of your desired tiles up to the edge so that you can make a finished edge.
- Paste a masking tape a grout away from the tile. It means that the distance between your tile and masking tape should equal the inches of a grout filling.
- Here comes the caulk sealant. Apply it in the space between the masking tape and tile. This caulk will help you make perfectly finished edges without bullnose tiles.
2. Rail Moldings
Aside from bullnose tiles, you have many other options for perfectly finished edges. For example, decorative moldings are available in the market. These moldings make fine edges without using bullnose tiles.
Any tiles, including porcelain tiles, glass tiles, or tumbled stone tiles, can be used to make shower niches, and for finished edges, use rail moldings. Other decorative moldings include dental moldings, pencil moldings, or cornice moldings.
Moreover, while buying the decorative moldings, look for a complementary color to your side walls. It will enhance the aesthetic look of your shower niche and boost the vanity. However, you can also buy the same color as your side tiles or back wall as your choice.
These moldings give your shower niche, and rail molding is one of the best choices for the bathroom. It provides an aesthetic look while enjoying a trim edge that beautifully makes an eye-catching view.
3. Metal Transition Strips
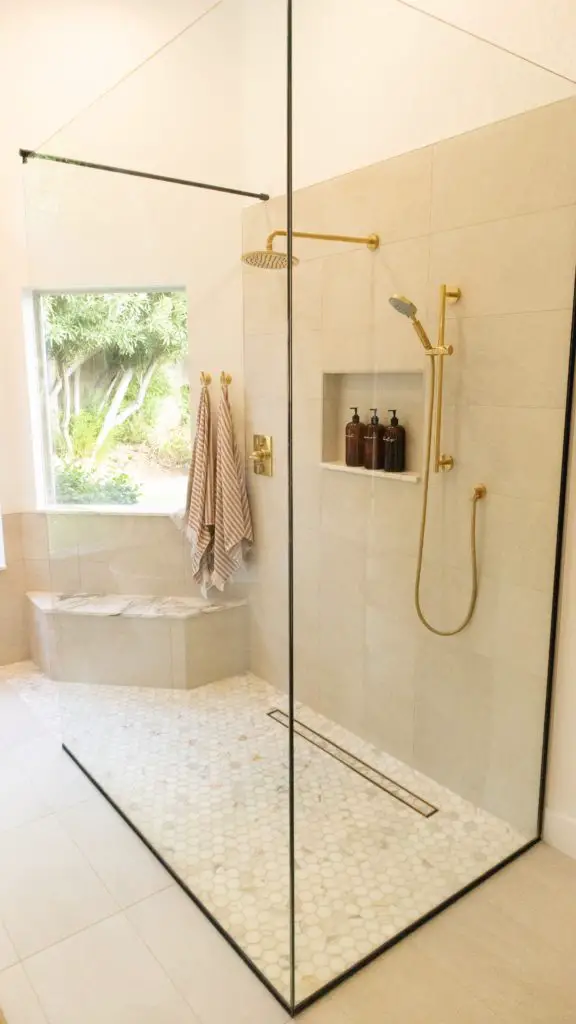
Besides the rail molding, a metal strip or edge is also an option to make a cut edge. Metal transition strips are a great choice to give your shower niches a classy and eye-catching look. If you are not using a bullnose tile, a wall tile edge usually needs decorative moldings or metal strips for cut edges.
For contemporary tile design, an L-shaped metal strip is a great option. The tile industry can find metal transition strips in different finishes and profiles. The metal strips conceal the tile edges and provide a metal edge perfect for cleaning water drains in the shower niche.
How to Cut the Metal Edge Perfectly?
Here we provided some tips that allow you to cut the metal edge perfectly.
- Carefully cut the metal profile with a miter saw slowly.
- Use a thin-set on the niche before applying the tiles to make perfect outer edges.
- For even corners, you can use a rubber mallet.
- Now you can cut the tile according to size by measuring the sill.
- We recommend applying a thin set of metal profiles on the sill and the tiles.
- Apply a thin-set on the horizontal niche first and then move upward.
- All the cut tiles should be even in size.
- Do the same method to apply a thin-set on the sides of the niche.
- Fill the joints with the grout float and clean it afterward to make fine grout lines.
- Clean all the profiles and let them dry. Now the shower niche in your bathroom wall is ready to use.
4. Fabricated Shower Niches
There is also an option of using fabricated shower niches to avoid bullnose tile. Multiple companies provide fabricated shower niches in different sizes and designs, including waterproof, well-finished, or easier-to-install niches.
Bullnose tile is an option that you have to install along with the wall tile for cut edges, whereas other options allow you to install your desired tiles which can be a glass tile or porcelain tile, and also lets you make fine edges without bullnose tile.
However, a fabricated shower niche is more prone to bacteria which can make a big deal afterward. Therefore, always make it waterproof and use the back wall of your bathroom for a shower niche to avoid more water splashes.
5. Create a Bullnose Edge
Moreover, if you want to make fine or bullnose edges but cannot find bullnose pieces or tiles in the market, you can make these edges by yourself. Many tiles in the market do not have bullnose pieces. Therefore, you need to either make a bullnose edge or use other options besides a bullnose tile.
You can make bullnose edges from stone tiles. Porcelain tiles also allow you to create curved edges as they do not have bullnose pieces available in the market.
Here is how you can make a bullnose edge on your own.
- Grind one edge of the same tile you will place as the bottom tile or make outer edges. Ensure you are using the last tile for cutting, which will be placed in the shower niche.
- Give a finished and refined look to the tile.
- For grinding, always use a wet saw that has a bullnose blade. This blade grinds the edge-cut tiles into curve-edge tiles that will give your shower niche a smooth corner.
- Always use an angle grinder with a polishing pad to buff up the edge to match the back tiles.
- Miter-saw helps cut the tiles, but plumbers recommend using a wet saw as it gives a curved look to the tile edge and eventually a gentle transition to your shower walls.
- Make a grout joint to fill the space between the tiles. But make sure that the grout lines do not appear rough.
FAQs
The following are some questions that might come to mind while you tile the shower niche without bullnose.
1. How can we avoid water dousing in the shower niche?
You must follow these factors when tiling the shower niche in the bathroom wall to avoid water dousing. If you place a niche in the lower place, the splashed water in the bathroom while showering makes the water collect in the shower niche. Make a shower niche in a heightened position.
Moreover, place your shower niche in a place that is less likely to have moisturization, and it stays less messy as compared to other corners on the wall.
2. What are the essential factors to consider while tiling shower niches?
Bathroom space is the most crucial factor when designing a shower niche. You can style a horizontal niche in your bathroom if you have ample space on the wall. Otherwise, a vertical niche works fine for smaller spaces.
Secondly, always try that your shower niche improves your daily bath routine and doesn’t create an extra mess for cleanliness. Thirdly, decide where to avoid the water splashes as much as possible.
Furthermore, make your shower niche waterproof. Ceramic and glass tiles are waterproof, but water splashes can cause expansion or contraction in the grout, which cracks the tiles. Moreover, smaller tiles can help you avoid cracks.
Besides, choose the shower niche with a complementary color or the same color as you have used the side tiles in your bathroom or contrast it with the back wall tiles. Additionally, always choose a convenient position for the shower niche so that the shampoo bottles are easily accessible to you. If you use any tile in your bathroom made of porous material, seal the niche so that bacteria and moisture cannot enter the pores and ruin the shower niche.
Finally, you should know the grout joints between the tiles while accommodating the size differences. Make fine grout lines for a sleekness and a classy look. If you have a more significant difference in the sizes of the tiles on your wall, use a separate edge piece instead of a grout joint.
3. Why should you use a wet saw?
A wet saw is an excellent equipment to cut a tile as it pours water on the tile while cutting, which helps avoid the cracks. Besides, using an angle grinder for smooth edges while cutting the tiles.
Sometimes, plumbers use lasers for tile cutting. They should ensure they use the proper laser level to avoid damage to the tiles or the walls.
4. Which tile edge molding suits the shower niche in my bathroom wall?
While designing your bathroom wall shower niche, consider your liking for the final product because all tile-edge moldings are helpful and depend on your choice. You can avail of pencil moldings, dental moldings, cornice moldings, and many others.
Our pick is rail molding, as it is a double check to avoid bacteria and moisture entering your niche.
5. What is the essential equipment for tile cutting to tile the shower niche?
You need equipment like grout float, masking tape, separate edge pieces to fill empty spaces, a carpet knife to finish a fine edge, tiles including top tile, field tile, and the last tile to make a shower niche. A laser cutter with an optimized laser level is also essential for tile cutting.
Conclusion
This article guides you on using modern methods to tile shower niches on your bathroom wall. These methods give an aesthetic look to your vanity and provide an improvement in your bathroom.
Moreover, you can also find the answers to your question that can help tile shower niches. It guides you through each step of how to tile shower niches without bullnose.
