How to Take off Shower Handle
**Articles may contain links that I earn compensation for if clicked and you make a purchase. As an Amazon Associate, I earn from qualifying purchases. These earnings do not actually impact the price of the product or service.
Your shower handle is an important part of your shower that controls the temperature and also, the flow of the water. But not all showers are the same; while some have screws that can be unwound to remove them, others have no obvious screws.
The humid environment of a shower stall isn’t suitable for your shower handles. Moreover, hard water stains can form mineral deposits which over time can make a layer, and water dripping from the showerhead can make them white.
Harsh chemicals in our soaps and shampoos also help damage shower handles, and there’s also corrosion, which weakens the threads on the valve stems and loses the handles.
Replacing shower handles isn’t a hard plumbing task! Certainly, you can do it comfortably without any challenges. But before discussing how to take off shower handles, let’s look at the four types of shower handles you need to know:

Knob Handles
A knob shower handle comes in the form of a door handle and can either be jeweled, globe, or squared. Equally, these handles use the circular method to access hot and cold water and also, turn off water flow.
There are knob handles with screws and those with no screws. You can’t know how to take off a knob handle until you find out whether it has a screw or not.
Shower Faucet Handle
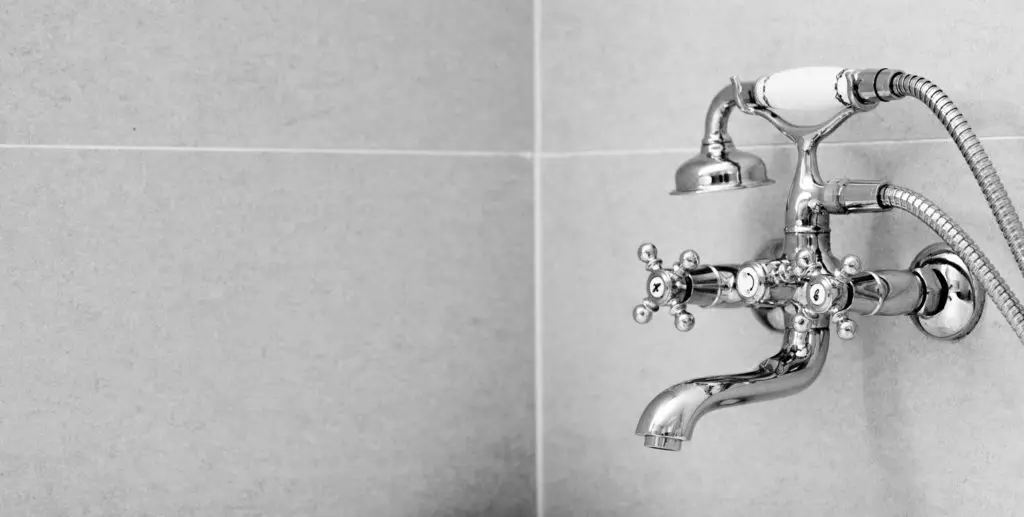
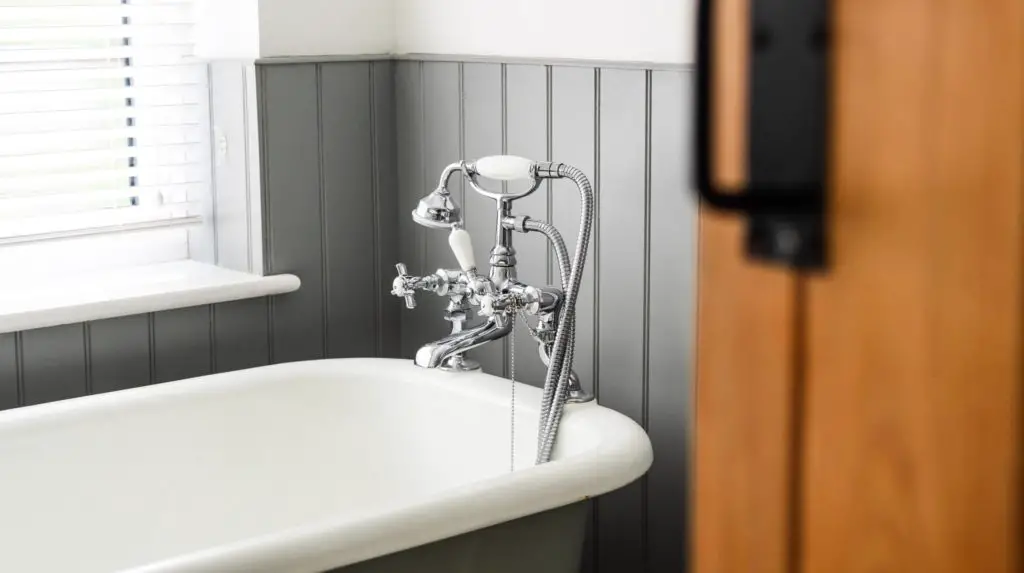
The double faucet handles come with two handles, one for cold water and the other for hot water. These double faucets mostly come with a shower knob or cross handle and are mostly found in older buildings. Therefore, to remove the shower faucet handle, they need to be twisted off and usually come with screws.
Lever Handles
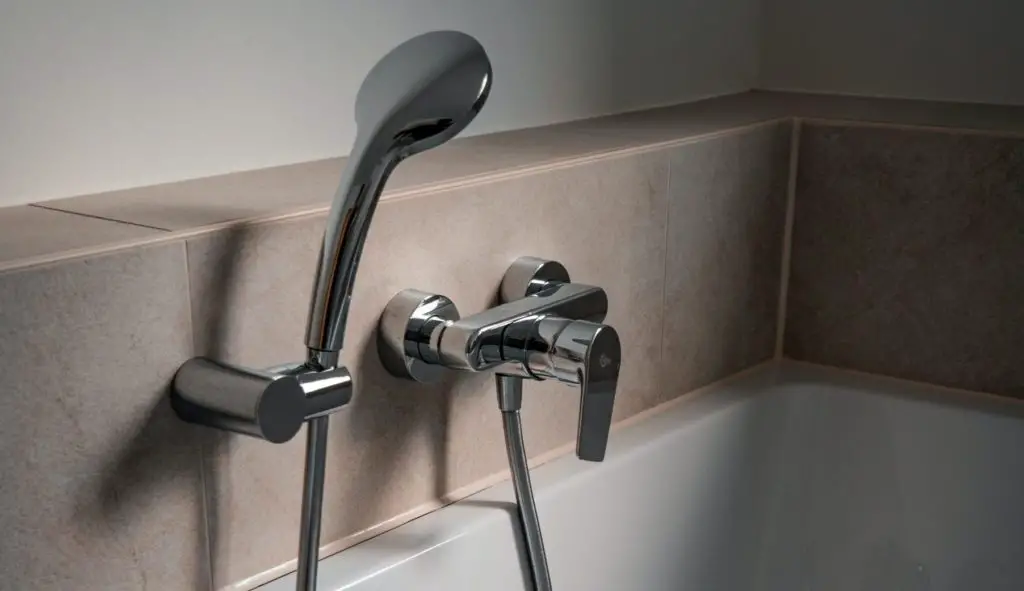
Lever handles are bar-shaped and come with a pivot. Hence, they come in different styles, shapes, and finishes. They’re very easy to take off since all you’ve to do is remove the faceplate and get access to the screws under.
X-Shaped (Cross) Handles
These have a retro look and are X-shaped. They’re easy to grasp and operate the same way as the knob handles.
However, cross handles can have screws or be screwless; therefore, before taking them off, you’ve to know whether they’ve screws or not.
How to Take off a Shower Handle
Before we start, I will like you to know that before you replace a shower handle at home, the new shower handle replacement should be of the same style.
That is, if you’re about to change an old double shower handle, then you should replace the shower with a new double shower handle unless you decide on replacing the entire shower valve assembly.
Things You’ll Need:
- File
- Allen wrenches
- Slot/ flat head screwdriver
- No.2 Philips screwdriver
- Hammer
- Faucet handle puller
- Spray lubricant
Steps to Follow:
- Turn off the water supply: Before you take off a shower handle or the entire shower valve assembly, try to turn off the water by turning off the main shut-off valve.
- Check out the type of handle you have: Some have visible screws while others don’t. If you can’t see the screws, they might be hidden under a plug or decorative cap.
Like in Lever style handles, the screws are usually held by the Allen nuts under the lever.
- Use your slot screwdriver to pry off the plug: It’s a cap situated on the front of the round handles and carries the manufacturer’s logo. Gently screw the slotted screwdriver between the plug and the handle and pry it upward.
- Use your No. 2 Philip Screwdriver to unscrew the screw while holding the handle to the valve stem. Don’t use force if it’s stiff to remove. Instead, apply lubricant and leave it for a few minutes before screwing again.
- Gently pull the handle using a faucet handle puller, and it shall slide off the valve stem. If it’s stuck, you’ll have to tap it gently with a hammer to loosen soap scum and mineral deposits.
- Your Allen wrench will help you loosen the nut that holds the handle. Generally, a ⅛ inch Allen wrench works for most handles, but it’s good to have different sizes in case ⅛ doesn’t fit. Once the nut has been sufficiently backed off the handle can be taken off the valve stem.
- Check the tip of the valve stem. It may be possible to wind the old handle without turning the valve, but the threads may need to be replaced if they’re worn out. Replace the valve stem.
Make sure you turn off your water supply before doing this. (If you’re uncomfortable doing this, a professional plumber may be the way to go).
- As you insert your new handle, make sure all the notches align with the ones on the valve stem. Slice it into the screw and acre back your Allen nuts. Put on your handle after tightening the Allen nut strongly in a way the handle won’t come up.
- Put your plug into place. If it’s a double faucet handle, make sure you put back each plug into its right position.
Tips:
If you’ve got a glass shower door, tread carefully when replacing your shower handle to not hit the glass. Opening the door while working will also be helpful. This also applies if you have a glass shower wall.
How to Clean Your Shower Handles and Heads
Many of us avoid cleaning shower handles and heads because unscrewing them to deep clean and then screwing them back sounds hectic.
Fortunately, there’s a simple way to thoroughly clean these fixtures without taking them apart. It’s called the Plastic bag method.
Materials needed:
- A rubber band
- Distilled White Vinegar
- A large plastic bag that’s big enough to fully fit around your shower handle or head
- Baking soda
- Dish soap
- Microfiber cloth or toothbrush

Steps to follow:
- Make a basic solution of a few drops of distilled white vinegar, water, baking soda, and dish soap. This solution helps in deep cleaning as the baking soda foams up the vinegar for thorough cleaning while the dish soap gives your handles a polished look.
- Secure the plastic bag to the shower handle or head and use your rubber band to seal it in place.
- Allow the fixture to soak for 30 minutes to an hour in the cleaning solution. If your handle is very dirty, you can allow it to soak for 6 hours or overnight.
- Remove the plastic bag and the solution and clean up the residual debris. Firmly scrub the head or handle with a toothbrush and warm water. Dry with a soft fiber cloth.
- Lastly, run water through the fixture to flush out the remaining vinegar, soap scum, and mineral deposits.
Tips:
You can use this solution to clean textured shower floors, fiberglass shower floors, and plastic shower floors.
However, put on rubber gloves when washing your shower handles to avoid direct contact with the solution, though it’s harmless.
Conclusion
In conclusion, taking off a stuck shower handle can be difficult sometimes. You may have to carefully lever your screwdriver between the handle and the shower wall to pull it off. If this happens, make sure you place a piece of wood between the shower wall and the screwdriver to protect the wall and make your work easier.
To save up your shower handles from damaging frequently, consider using the plastic baggie method to clean them from time to time.


