Can You Use Peel and Stick Tile in a Shower?
**Articles may contain links that I earn compensation for if clicked and you make a purchase. As an Amazon Associate, I earn from qualifying purchases. These earnings do not actually impact the price of the product or service.
Peel and stick tiles offer a more straightforward substitute for hard or true ceramic tiles. Moreover, they are cheaper and best for use in low-moisture places, including bathroom floors and kitchens. Though it’s not recommended, one can peel and stick tile in their shower as a wall tiles decor.
The main reason is that the adhesive that sticks these tiles to the walls isn’t always waterproof. This brings issues with mold and various health hazards.
Since there are no grout lines, the spaces between every tile section can have gaps that promote mildew and mold growth. Thus, you should invest in waterproof wall tiles for your shower walls.
Table of Contents
Do Peel and Stick Tile Perform Well as Shower Tiles?
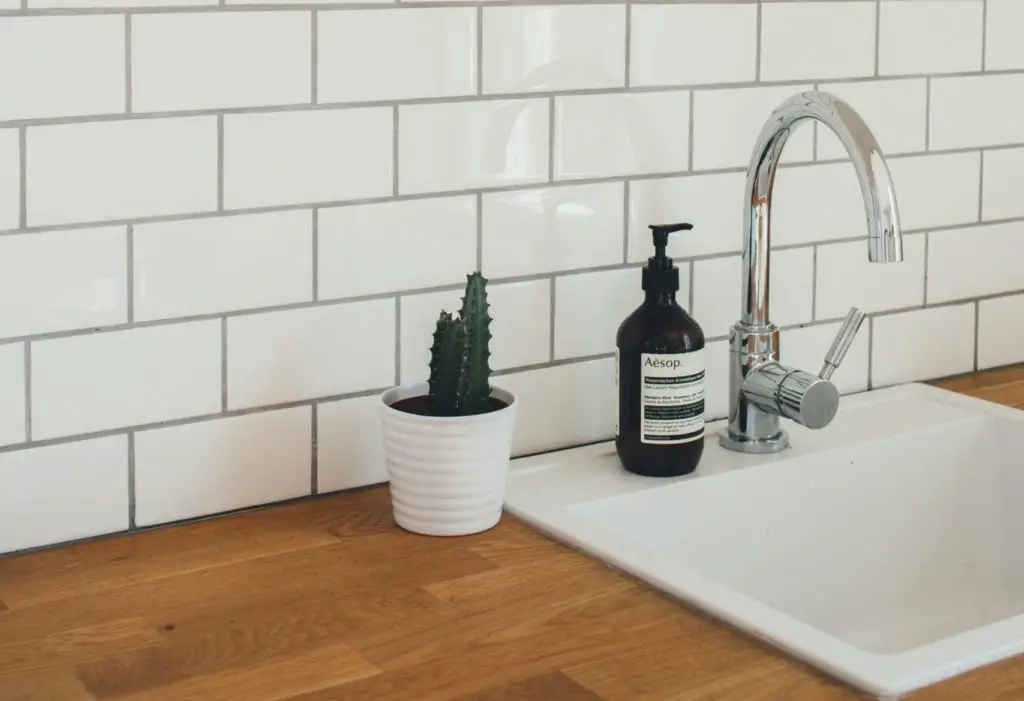
Generally, one can utilize these smart tiles on shower walls and floors. However, they will not last for long compared to traditional tiles.
Thus, you might end up spending more when making a replacement. Hence, you should use peel and stick bathroom tiles in your shower wall only when no other options are available.
These stick-on tiles are simple to install. They feature self-adhesive material meaning there is no need for grout, allowing you to prevent mildew and mold from growing.
On the flip side, the tiles’ form might result in gaps between them and the flat surfaces. As a result, stick-on tiles come with a greater risk of mold, unlike grouted tiles. However, such issues are far more common for tiles with direct contact with shower spray, like on the main shower walls or the shower floor.
Also, self-adhesive tiles comprise stylish finishing and can decorate your bathroom. Therefore, pick ones compatible with the rest of your bathroom. Plus, all of them are simple to apply and cheap to maintain.
The best quality waterproof peel and stick have a 3D surface, usually a gel or rigid material, including a stone or glass. You also need to purchase extra pieces for catering that need replacement because the manufacturer can quickly discontinue making that design.
Putting Peel and Stick Over a Fiberglass
Fiberglass showers are simple to install, and they’re cheaper compared to regular tiles. Moreover, one can place a peel and stick tile above it to protect the fiberglass tiles from damage and scratches.
However, the peel and stick tiles need a specific smooth surface for them to stick on. So, they work best on a flat and sturdy base. For this reason, fiberglass isn’t a great base for the peel and sticks tiles since they won’t stick for long on such a surface.
Placing Peel and Stick Tiles on Ceramic Tiles
One can easily place a peel and stick tile on ceramic tile. Yet, there are rules which you should follow when doing so. Peel and stick tiles aren’t easy to install on top of ceramic tiles since they get ruined easily.
To avoid that, you should adhere to the necessary guidelines. The tiles must be filled with more grout for the surface to be flat and for the glue to stay on the peel and stick tiles.
Installing the Peel and Stick Tiles at RV Shower
This is possibly the best place for you to fix peel and stick tiles. In other words, it’s a surface that allows the tiles’ glue to abide well. The adhesive is more flexible; hence if you require to reposition these tiles, you are free to do so before it dries out, and this won’t cause any damage to the RV shower.
For How Long Will Peel and Stick Tile Last When Installed in a Shower?
If you properly set and maintain them, peel and stick tiles can last between three and seven years when installed on a shower wall. However, that is easier said than done, meaning you should expect a period of around six months due to the continuous water exposure.
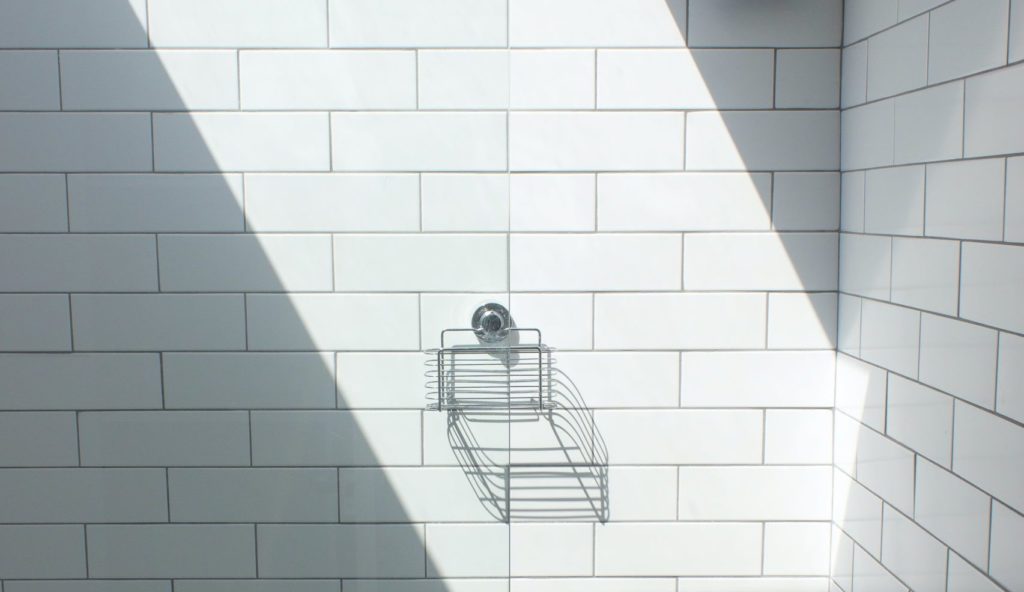
Selecting the Best Peel and Stick Tiles for Your Shower
There are several peels and stick tiles available on the market today. Some designs are for stick tile backsplash, and others are for use above stoves.
-
Peel and Stick Tiles From PVC Material
Currently, PVC is among the best choices for this purpose. However, this material leaves the adhesive at the rear of the existing tile prone to water. On the bright side, you will at least have an easy-to-clean tile that is waterproof from the front.
-
Pick the Finish
These tiles are accessible in various finishes ranging from glossy, metallic, glazed, natural, etc. Keep in mind that these finishes won’t make your peel and stick tiles less or more waterproof.
Thus, they’re beautiful designs that allow much creativity from the user’s side. However, you should be aware that using sealant on your peel and stick tiles can alter the appearance of their finish.
The Proper Tools for Installing Peel and Stick Tiles
- Sturdy scissors
- A tape measurer
- A pencil and a marker
- Sealant
- Caulk gun with silicone caulking
- A paint brush
How to Install the Tiles
-
Prepare the Surface
The first thing to do is clean the surface where you will install your peel and stick tiles. The surface needs to be dry, clean, and dust-free.
If you use water in your cleaning agent, you should wait some more for it to dry later on. In that manner, you’ll allow the glue to stick on the surface properly.
-
Markings and Measurements
Measure the installation area while keeping in mind the tile’s form and proportions. As a proven method, use a pencil to mark exactly where you will install each of the peel and stick tiles.
-
Cut Tiles
This part is a job for two. So, one person should hold and adjust the tiles against the markings on the wall, while the other will unstick them.
Then, cut your tiles to create a way for trim, faucet, corners, or shower head cutouts. When doing so, mark the places you need to cut before taking the tiles down for trimming.
-
Apply Peel and Stick Tiles
Using pencil marks as a guide, start peeling and sticking on the tiles. It’s best to begin from any of the top corners and make your way towards the middle. Next, install the other top corner before moving to the bottom.
If need be, feel free to make some extra cuts to properly fit the tiles together. Hence, be careful not to cut deeper than necessary.
After that, you can use silicone caulking on the edges and to all points where a tile meets a different material.
-
Sealing the Tiles
After installing the peel and stick tiles and letting your caulking dry, you can move on to the last step of sealing the tiles. You can apply the sealant using a clean paintbrush. Then, begin the application at one side and cover that area before moving to the next.
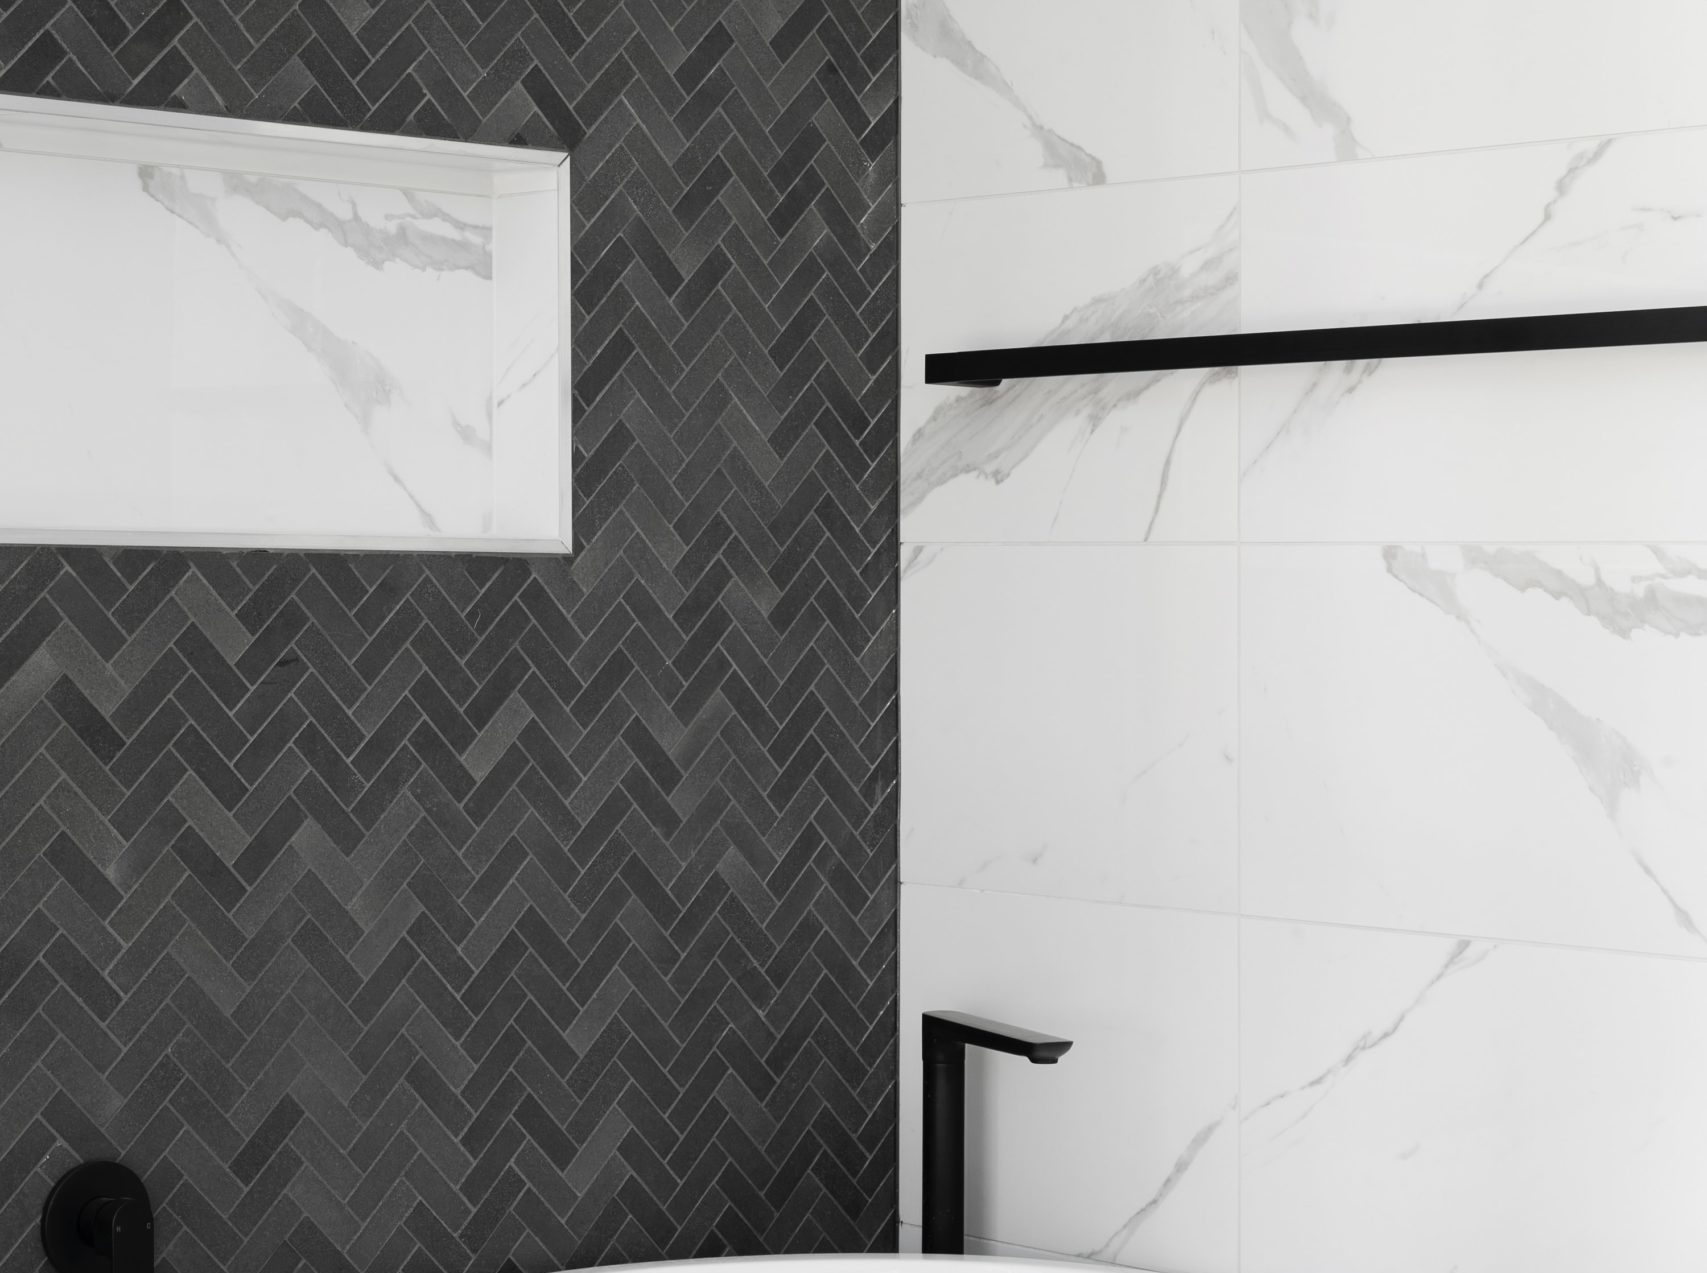
Alternatives for Peel and Stick Tiles
-
Ceramic Tile
Setting this type of tiles takes a bit more time. Also, the higher costs imply that these real tiles are the longer-lasting solution.
-
Wall Panels
Wall panels for use in the shower need more installation work and are expensive.
Furthermore, wall tiles are 100% waterproof, meaning they won’t come off any time soon. However, they are demanding when it comes to maintenance and cleaning.
-
Natural Stone
This adds a classy and natural aspect to the space. Yet, since stone is the most durable material to use in a shower wall, it comes with an extra cost. Its installation process needs skills, and they need regular maintenance afterward.
How Can I Waterproof Peel and Stick Tiles?
These tiles are waterproof by default since they comprise vinyl materials and come with numerous layers. So, you don’t have to work towards making stick wall tiles waterproof.
However, water can still pass via every tile’s joints, dampening its bottom. To protect the joints, you can use silicone caulking, tile cement, or grouting.
Conclusion
Peel and stick-on tiles are suitable options for your kitchen and bathroom walls. These tiles are resistant to humidity and offer the best way to decorate your bathroom with little effort.
Lastly, peel and stick tiles are a great budget option for your shower walls, even if you’ll have to replace them after a while.
