How to Install a Storage Tank Water Heater
**Articles may contain links that I earn compensation for if clicked and you make a purchase. As an Amazon Associate, I earn from qualifying purchases. These earnings do not actually impact the price of the product or service.
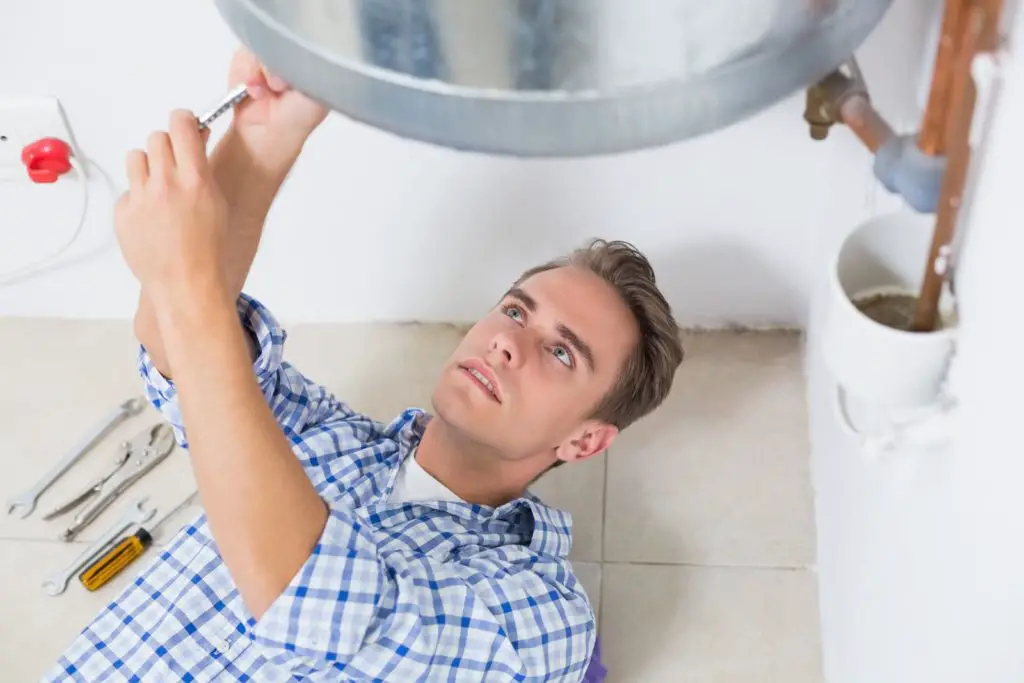
Hiring a professional to install your new water heater can run you up to over $1000 dollars on top of the new water heater you had to buy. Doing it yourself can seem daunting, but with the right guidance and tools, it is definitely a DIY project you can learn how to do. There are some confusing steps and considerations to make before splashing in, so here we lay out some of the necessary steps and tools you will need.
Table of Contents
Installation Essentials

Some essential tools you will need to correctly install your new water heater include a hose, tubing cutters, pipe wrenches, tape measure, and gloves. These help to keep you safe and also help you measure the accurate length for placement.
In terms of the parts you will need, these include your new heater, pipe fittings, and valves. You should not use the old parts from your water heater since they could be worn or fitted incorrectly. These are essential parts to keep your heater in place and working correctly.
Other gear that could help make installation easier include a towel, Teflon tape, buckets, a pipe dope, and a leak test solution. Especially for first-time installers, we recommend having all the extra tools to help make your life easier.
What You Need to Know Before
Electric or Gas
To determine whether or not this DIY task is for you, you need to first determine what type of water heater you have or want to install. The two types of water heaters are gas-powered or electric-powered. Most of the time, it depends on what the house is fitted with. If you are building a new house, you are able to choose which one is best for you.
Typically electric water heaters are much easier to install than gas water heaters. This is because it is less dangerous since you are not working with gas, which could be flammable. If you have an electric water heater, we highly recommend trying to install it yourself. This could save you hundreds of dollars in overall costs.
Gas water heaters are a bit trickier, but can still be done. This is because it requires disconnecting the gas line, which can be intimidating for those that have never done it before. It also requires reconnecting and maneuvering the gas lines and vent outside. If you do not feel comfortable handling this, do not be afraid to call for professional help. If you want to attempt it, be sure to follow a step-by-step guide and take all the necessary safety precautions before installation.
Water Pressure
It is also important to check the water pressure of your home before installation. You can check this easily using a pressure gauge. A proper water pressure (50-60 PSI) can extend the life of your appliances and keep them running smoothly. This step may not seem necessary, but knowing the pressure can help you determine if you want to install a pressure-reducing valve on your water heater.

Installing Your New Gas Water Heater
1. Draining
The first step is to drain your old water heater so you can move it easily. Technically this step is not completely necessary, but it makes it much easier to transport and makes less of a mess.
2. Shut the Gas Off
This is an important step, so be sure not to skip this one. The gas needs to be turned off at the valve and the control module. A good rule of thumb is to turn the valve so that the handle runs parallel to the gas line.
3. Take Off the Flue
The flue, which is the heater’s chimney, is easily removed by taking off the screws. Try not to twist too hard so it won’t break apart. If the flue is intact and still in good condition, this part can actually be reused.
4. Disconnect the Gas Line
This is the step that everyone worries about, but it is easy to tell if something is going wrong. Take a deep breath and be aware of the smell around you in case something is not right. To disconnect the gas line, start to loosen it slowly. If you hear any noises such as hissing, tight the line immediately. This sound means that the valve is not shut all the way. Also, if you smell a strong stinky smell, this is a warning, and you should stop and make sure the valves are shut. Move to the union, which is where the valve connects to the heater. You can remove the fitting or use two pipe wrenches to split the union in half. After doing this, you can remove the gas line from the tank.
5. Cut the Tank Lines
The last step of removal is to cut the hot and cold water lines. We recommend going up a few inches off the tank, which makes reconnecting easier. For the cold water line, we recommend cutting below the shut off valve to keep the water running in the house.
6. Installation
Installing is actually somewhat easier than removing the water heater. All you need to do is reverse all the steps. Be sure to place the new tank with the water connections properly lined up. After roughly placing the new water heater in, start by hooking up the cold water and hot water lines with the fittings. After doing this, you should be able to fill the tank easily. You can watch for any potential leaks and stop if anything starts to go wrong. After filling the tank, you can hook the gas line up starting from the control valve and work towards the union. When you reach the union, tighten with your hands first, then use your wrenches to tighten it to opposite sides. Some tips to note when reconnecting the gas line is to make sure it isn’t too tight and to use a leak test solution to test the connection. You can purchase a solution or even use dish soap. Lastly, this should be a given but never put anything flammable near the work area.
7. Final Steps
The last few steps are to reconnect the flue, runoff tube, and relight the pilot light to turn the tank off. Reconnecting is the same as disconnecting. Be sure to keep watching out for leaks as the water heater starts to stabilize and provide your home with hot water in no time.
Installing Your New Electric Water Heater
1. Turn the Power Off
This is much easier to do than the gas alternative. All you need to do is turn it off at the circuit breaker. A good tip is to mark the connections for easier reconnecting.
2. Run and Drain
Let the water run until the water is cool, then drain the water using your hose. This makes it much easier to remove. If it takes too long, try to turn on a faucet inside the house for efficiency.
3. Removal
To remove the tank, locate the temperature and pressure relief valve and remove the discharge pipe. After this, you can disconnect the cold and hot water supply lines. Remember to leave it as long as you can to reconnect to the new water heater easily.
4. Installation
We recommend putting your new water heater in a drain pan to help with flooding. After setting the new unit in place, you can connect the new valve. Be sure to see if your unit comes with one. If not, be sure to buy one since using an old valve can throw off the temperature or pressure. After connecting, you can hook the water up and attach the hoses with plumbers tape. You may also need to install new fittings depending on the specific ordinances of your area. Be sure to check these before you start. Like the gas ones, make sure the fittings are not too tight.
5. Final Steps
After fitting your tank in, you can start to fill it and keep an eye on the connections to watch out for leaks. After the tank is full, we recommend continuing to let it run for a couple of minutes to remove any fragments in the water. After doing this, you can turn the power back on at the junction box and set the temperature. The manual should tell you what temperature to set the water. If not, 120° Fahrenheit is a general temperature. It may take a couple of hours to heat the water but be sure to keep an eye out for leaks.
Final Tips
Even though installing a water heater may seem really complicated, the steps are easy to follow. It may not be a project suitable for everyone, but doing so can save you a considerable amount of installation costs. When attempting this project, be sure to be aware of your surroundings and get rid of anything that could be hazardous in your work area. There are risks, but if you keep a lookout for the telltale sounds, you can prevent accidents from happening. If you are worried about anything at all, professional help is always available.

