How to Replace a Shower Head Arm
**Articles may contain links that I earn compensation for if clicked and you make a purchase. As an Amazon Associate, I earn from qualifying purchases. These earnings do not actually impact the price of the product or service.
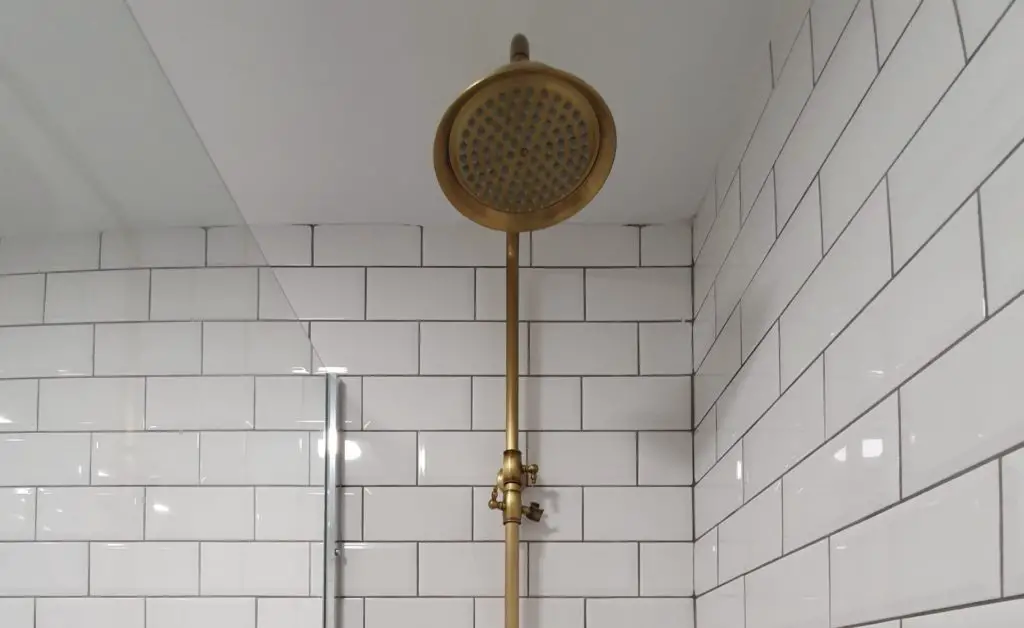
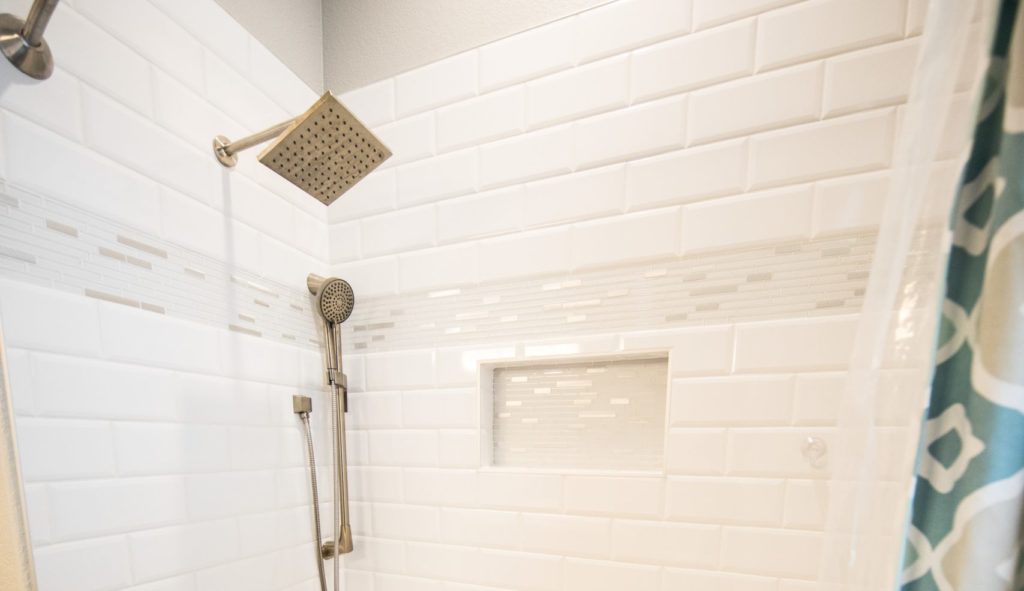
A shower head arm is a water pipe installed between a shower head and the wall, rather than just being connected directly. It allows you to adjust the height of your shower head. In addition, it makes it easier to keep the shower wall clean.
Moreover, it also allows you to adjust the height at which the spray comes down. You can customize it to suit your preferences and needs.
The shower head arm extends the height of your shower head, and it allows you to position it at a comfortable angle. In addition to providing comfort, this accessory is also useful because it helps avoid scalding water when washing large body areas.
Here are some easy steps to replace your old shower head arm without calling a plumber.
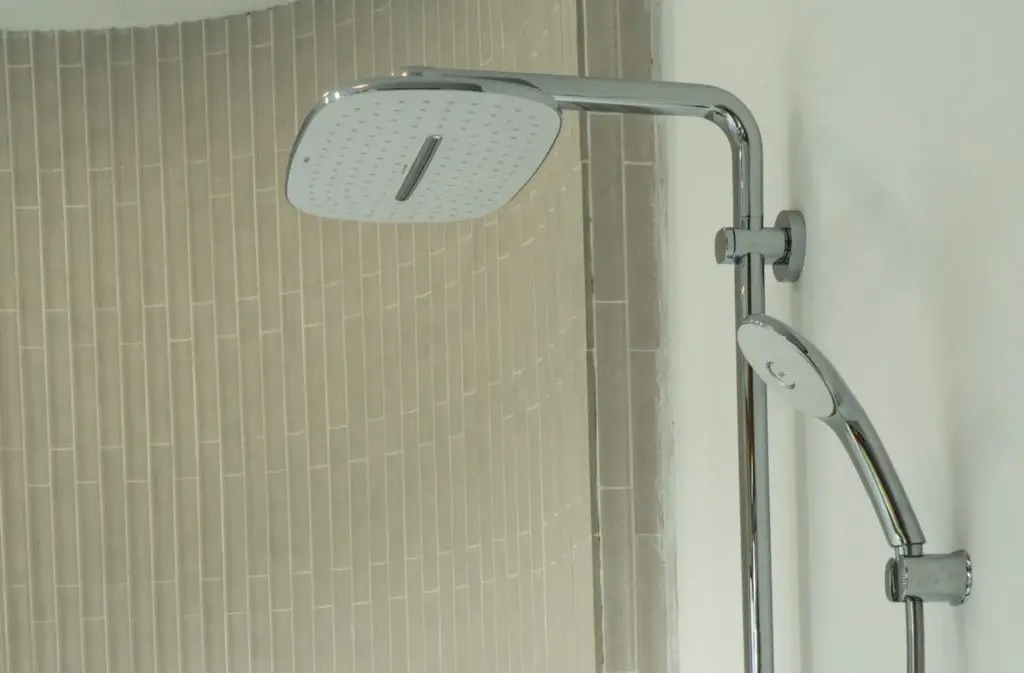
Table of Contents
Steps to Replace a Shower Head Arm
Step 1 – Turn off the Water
The first step is to turn off the main supply of water before you can switch to the new shower arm. This is because when you change a shower head arm, it could result in wastewater flow on the wall. So, shutting it off will reduce the amount of water spraying out.
In addition, you need to turn off the water to keep the air pressure in balance.
Otherwise, you will cause a buildup of air pressure in your water supply system. Consequently, this pressure could eventually burst your water supply pipe and cause a slew of other problems.
Step 2 – Remove the Showerhead
After you have turned off the water and allowed it to drain completely, get a towel and place it under the spigot where you will be taking out the showerhead. Use a pipe wrench socket and loosen both sides of the showerhead.
Note that the other fixtures may be tighter due to the tape used. Also, be careful not to damage any nearby water supply pipes when doing so.
Step 3 – Clean the Shower Arm
If your shower arm has visible mineral deposits, you may want to consider a vinegar cleaning. This can sometimes loosen the buildup of minerals, allowing you to easily wipe or rub off the residue with a cloth or paper towel.
Step 4 – Unscrew the Shower Arm
First, use a wrench fitting for the shower arm to unfasten the set of screws attaching the handle to the old shower arm. Insert the screwdriver’s shaft until you poke out on top and underneath the old shower arm where the tape is sealing.
Next up in the process, rotate the shower arm back and forth while pushing down to loosen it and remove it from the wall. Watch not to break the tool that you are using.
Step 5 – Insert the New Shower Arm
After removing the old arm, put an adjustable wrench on the new shower arm flange and tighten down the arm to hold it firmly in place. Use pliers to unscrew the nut from the shower elbow at least 1/8 inch. Afterward, take off the plumbing tape you’ve used to wrap the connections.
Now you can tap in a new arm by pushing out any voids on both sides of the threads with a hammer and chisel, thus creating a perfect seal. Lastly, screw in a new plumbing pipe until it meets the required length to complete the process.
Step 6 – Reinstall the Old Shower Head
First, wrap the pipe threads with Teflon plumbing tape and screw on the new shower arm base to tighten. Next, install the new shower head to the wall onto the other end of the arm.
Step 7 – Test for Any Leaks
Turn on the water and check for leaks. If you notice a leak, turn off the water, tighten the base in a counterclockwise direction, and turn on the new shower head.
Frequently Asked Questions (FAQs)
1. Is it easy to change a shower arm?
Installing a shower arm is easy, even if the joint between the two pipes is corroded. However, you’ll need the right tools to move an old pipe from one wall to another.
If there’s a shower arm worn due to rust or damage, start by blocking the water flow to that fixture via the shut-off valve closest to it. The process comprises only two steps: remove the old shower head and attach the new shower head in its place.
2. Can I wash the shower arm and reinstall it?
To clean the shower arm, remove it from the wall. Secondly, utilize a soft-bristled brush to scrub away any hard water residue that may have accumulated. In addition, rubbing with medium soap softens the residue from water and makes the cleaning easier.
Rinse the shower arm and reinstall it once you have finished cleaning it. Do not spray any reagents on the shower head as they may begin to react with the metal and thus derail the shower arm.
3. How do I change a shower arm worn due to time?
First, turn off the water via your home’s main water supply valve. Disconnect the old shower arm, clean up any water left behind and then dry the area with a towel. Install the new shower arm by attaching it to the wall and ensuring it’s stable.
Then, attach it to your existing pipe with a wrench so that everything is secure. Also, wrap a Teflon tape to prevent leaks from any location.
4. Do I need to shut off the water to replace the shower arm?
No, you do not have to shut off the water to replace the shower arm in your bathroom. You can release the old shower arm with a simple twist.
Once you remove the old shower arm, insert the new shower arm and tighten it with a wrench. This will ensure your shower arm is properly installed.
5. Can I use shower arms as a universal product?
Yes and no. So, not all shower arms are universal. The reason for this is they include other fixtures that are usually adjustable and also flexible.
Hence, the different models of showers vary in the inner builds. As a result, not all available shower arms are universal or fitting for all showers.
Therefore, you should ensure that you buy a shower arm of the correct size. Furthermore, ensure that the shower arm is not only flexible but also adjustable.
6. Can I get a new shower head and a shower arm?
Yes, you can replace both the shower head and shower arm in your bathroom. You can find replacements in any hardware store near you. Also, get the tools necessary to change the shower arm.
Final Thoughts
In conclusion, replacing your old shower arm with a new one is an easy job overall. In fact, you do not need a plumber to do this task. The first step is to shut off the water.
Secondly, you will remove the old shower head. From there, disassemble the existing arm by unscrewing and removing the chrome piece with the connecting nuts. Next, clean the shower arm and shower head.
Finally, swap out the old arm with your new one and reconnect the new shower head. At this point, apply a Teflon tape for better tightness.
After this, test for any leaks and tighten the joint if you notice one. Again, wrap a Teflon tape to stop any leaking.
Therefore, if you have noticed that your old shower head is not providing enough pressure to rinse the soap off your body or shampoo out of your hair, it could be time to replace your home’s shower arm or shower head. If you call a plumber, he’ll cover tips to get it all tidied up.
However, the easy steps in this guide are simple to follow, and you’ll only need pliers, tape, and to look for the position of any leak. In that way, you’ll soon master all tips on how to replace a shower head arm and ensure it is properly installed. Finally, always watch for a leak and act quickly.
